Installing Security Device Manager (SDM) on a Cisco Router
|
Introduction
For years now, Cisco has been developing its Security Device Manager (SDM) software. This web-based software is designed to help the less experienced users and administrators to work and configure various services and functions of a Cisco router.
There are two different editions of SDM, the full SDM package and the SDM Express package.
The full SDM package contains a number of modules and options for your router's configuration, while the Express package is essentially a cut-down version containing the core modules. You should note that you'll need Java Runtime 1.5 installed on your workstation in order for SDM to function. To obtain the necessary Java Runtime click here.
The full SDM can be found on the CD that came with your router but is also downloadable via Cisco's website. The SDM Express package usually comes preinstalled on your router's flash memory.
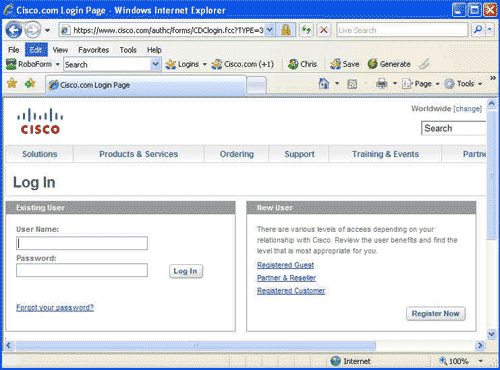
If you would like to download the latest available Cisco SDM, you can conveniently find it in our Cisco Tools & Application Download Section or alternatively go to Cisco's website, log in to your CCO account and download from there. If you don't have a CCO account, you can register one for free and proceed to the following location http://www.cisco.com/cgi-bin/tablebuild.pl/sdm as shown below:
Once you log in, you'll be presented with the download table from where you can select the latest version:
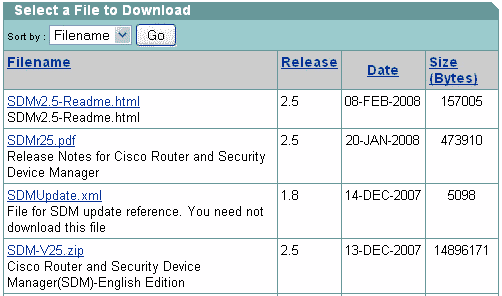
Once you select and download the appropriate zip file (SDM-V25.zip in our example) you'll be able to unzip it and start your installation, however, to ensure your installation succeds, you must telnet into your router or use the console port to log in via CLI, create a username & password, and enable HTTP authentication:
R1# configure terminal
R1(config)# username firewall.cx privilege 15 password ciscorocks R1(config)# ip http authentication local R1(config)# exit R1# copy running-config startup-config Destination filename [startup-config]? (hit enter) Building configuration... [OK] R1#
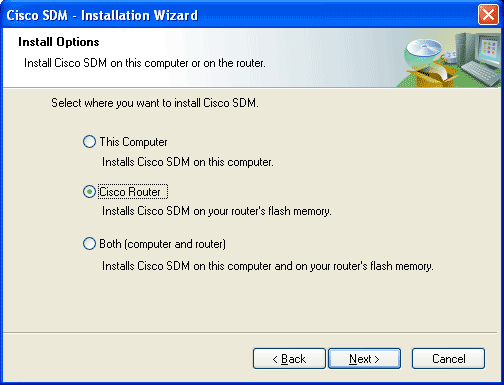
Now start your installation. During the installation you'll be prompted to select if you'd like to install Cisco SDM on your computer, router or both. Select your router:
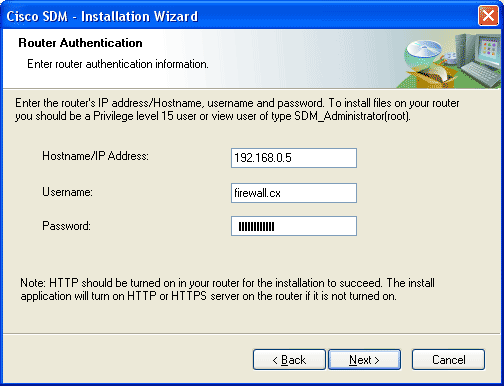
In the next screen, you'll be asked for your router's details (IP Address, username, password) in order to have the SDM software installed on it:
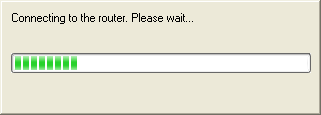
Once you provide all necessary information, you'll get the progress bar indicating the connection towards your router:
Next is the section where you can select a 'Typical' installation or 'Custom'. Select 'Typical' as it will automatically choose the appropriate settings and packages for your router:
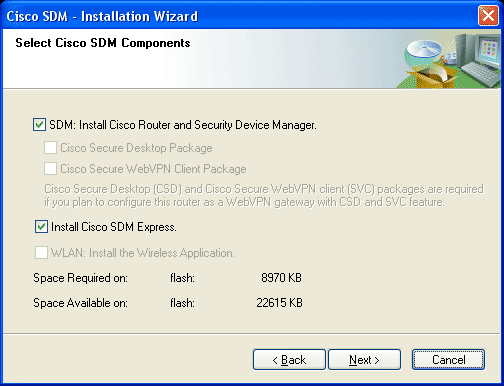
As you can see, SDM v2.5 requires approximately 8.9MB of flash space. Hit 'Next' and your installation begins:
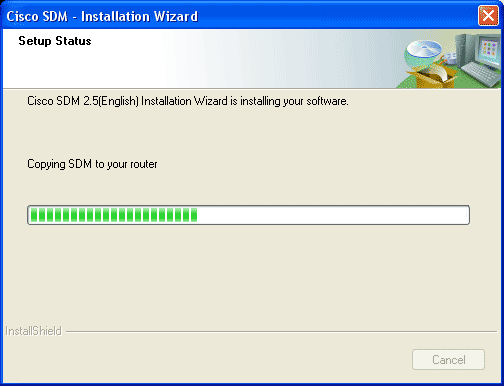
This process will take a couple of minutes as all files are transferred to your router's Flash and final configuration changes are made. Once complete, you'll be given the option to start SDM. If you choose to do so, you'll be redirected to your web browser and asked for the appropriate credentials.
You'll have to make sure you've disabled any pop-up blockers otherwise you won't be able to see the necessary windows that will try to 'pop-up'. After a minute or so you should see the first screen of SDM collecting information on your router:
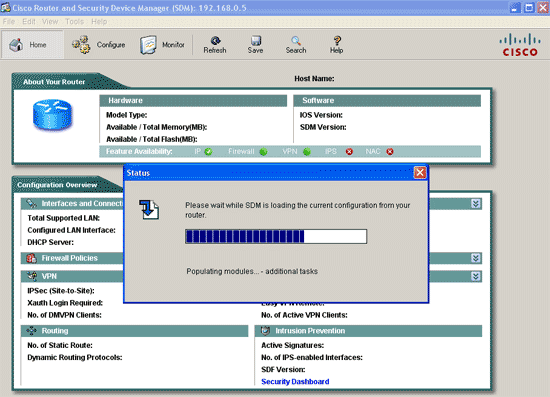
Once this step is over, you'll get your first real-time overview of your router. From here you can configure or monitor any aspect of your Cisco router. The SDM software is constantly being updated with new features, bringing it closer to the flexibility and power of the IOS command line - however, it does still have a long way to go :)
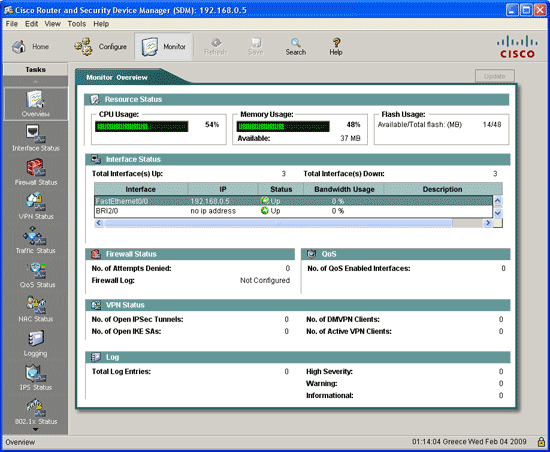
The following screenshot is from the 'Monitor' tab, which can provide a wealth of information regarding the router's status and is extremely useful even for the most experienced:
 |


